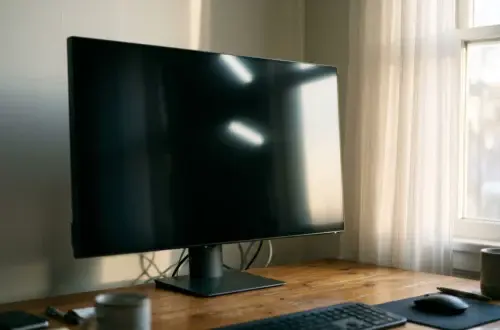
You can stand next to a desk and arrange it so it looks tidy, but you use it seated, and your arms reach differently from a chair. Standing over the desk, everything looks within reach. Sitting back against the chair with your shoulders relaxed, the far corner of the desk is a stretch, and the mug on the left needs a twist of the torso. That is why how to arrange your desk ergonomically starts with your seated position, not with a list of where things “should” go. Each small stretch, twist or shoulder hike is minor on its own. Repeated hundreds of times a day, they add up to the tight shoulder, sore wrist or stiff neck that a good chair alone cannot fix.
Start from the chair: your reach zones are measured seated
Your reach depends on how you sit, so settle your seated position before you move a single object. Sit all the way back in the chair with your lower back supported, feet flat on the floor, and your upper arms hanging relaxed beside your torso. Your elbows should bend to roughly a right angle with your forearms pointing forward, and your shoulders should sit low, not lifted toward your ears.
If your chair is set too low, too high or too far from the desk, every zone you measure will be wrong, and you will arrange the desk around a bad posture. Adjust the chair first, then measure. The closing section links to a full walkthrough of those settings.
Two habits will distort your measurements, so avoid them while you map:
- Leaning forward off the backrest to “just reach” an object.
- Lifting your shoulders as your hand travels outward.
Both feel natural, which is exactly why they cause trouble. The goal is to find out where your hands can go without either one.
Map your three zones with a sheet of paper and a pen
You need a sheet of paper, a pen, and about five minutes. If your desk is deep or wide, tape a second sheet alongside the first. Clear the area directly in front of you so you can draw on the paper without moving things around.
Place the paper flat on the desk in front of your keyboard position. Then sit as described above and do three passes.
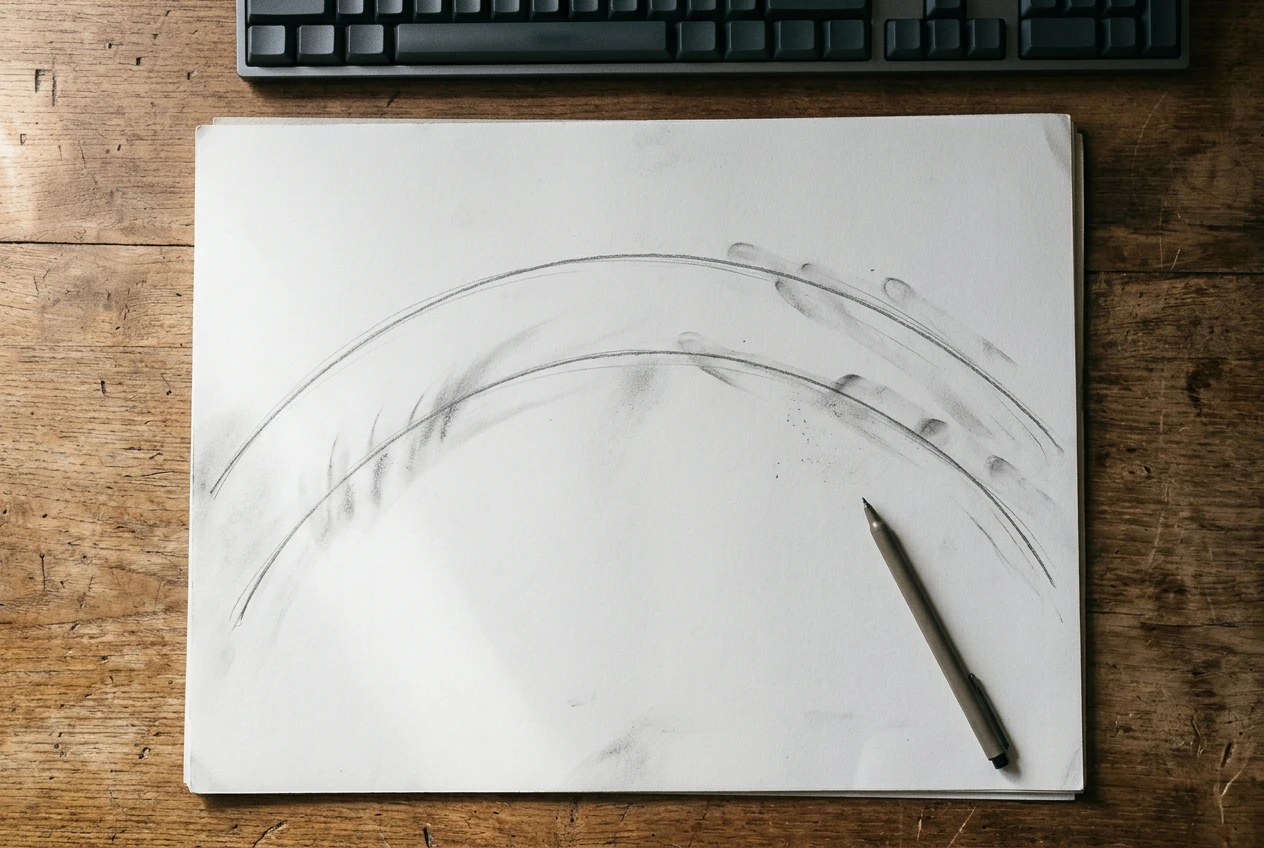
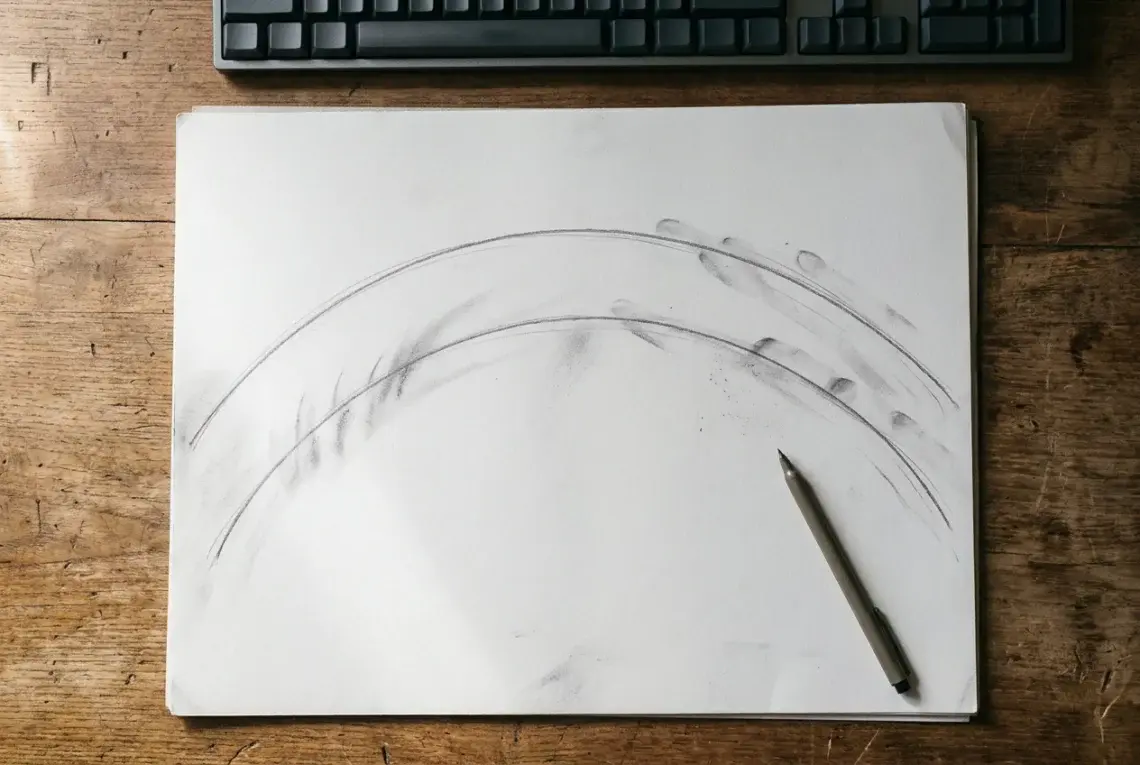
- Close zone. Keep your upper arms relaxed at your sides, bend your elbows, and sweep each hand in an arc across the paper, as if wiping a window. Mark the farthest points your fingertips reach. Connect them into one curve. This is the edge of the close zone.
- Middle zone. Now straighten one arm forward and sideways without leaning your torso or lifting the shoulder. Sweep your fingertips across the paper and mark the farthest points. Do the same with the other arm. Connect those marks into a second, wider curve.
- Outer zone. Everything beyond the second curve is the outer zone. You can only touch it by leaning, twisting or standing.
You now have a plan view of your own reach: a small curve close to you, a wider one beyond it, and everything past that. Leave the paper on the desk while you work through the next three sections, and move objects onto it to see where each one lands.
The close zone: what earns a place within a relaxed forearm’s reach
The close zone is where your hands work most of the time with the least effort. Put things here that you touch constantly, meaning many times a minute, or that your hands rest on while you work.
For most people that list is short:

- The keyboard, centered on your body so your wrists stay straight.
- The mouse or trackpad, level with the keyboard and as close to it as possible.
- A notebook or document you are actively writing in or typing from.
If you use a wrist rest, it belongs here too, directly in front of the keyboard. If you are deciding whether one suits you, the article on the benefits of using a wrist rest covers how it works.
The close zone is small, and it should be. If something sits there that you touch only once or twice an hour, it is taking space from your keyboard and mouse and pushing them away from your body. Reaching for a mouse that has been shoved out by a stack of papers is one of the commonest causes of shoulder strain at the desk.
Your monitor is a separate case. You do not reach for it, so its position depends on viewing distance and height, which affect your neck rather than your arms. The comparison of a monitor arm and a fixed stand covers that side of the desk.
The middle zone: the things you touch a few times an hour
The middle zone sits between your two curves. You can reach it by extending an arm, and you can do so without shifting your body. It suits objects that you use regularly but not continuously.
Typical middle-zone items:
- Your phone, if you pick it up a few times an hour.
- A water bottle or mug.
- A pen holder or a notepad you jot on now and then.
- A headset you put on and take off.
- A desk lamp switch or a frequently used drive or dongle.
The test is simple. If you reach for it several times an hour, it belongs in the middle zone. A hand moving out and back occasionally is fine, because the movement is brief and your shoulder returns to rest between reaches.
Place the heavier or spill-prone items, like a full mug, toward the side you reach with most comfortably, and keep drinks clear of the keyboard. Consider also where the object sits in relation to your mouse hand. Your mouse hand is busy, so items you reach for mid-task are better placed on the opposite side.
The outer zone: what to push back, shelve or remove from the desk
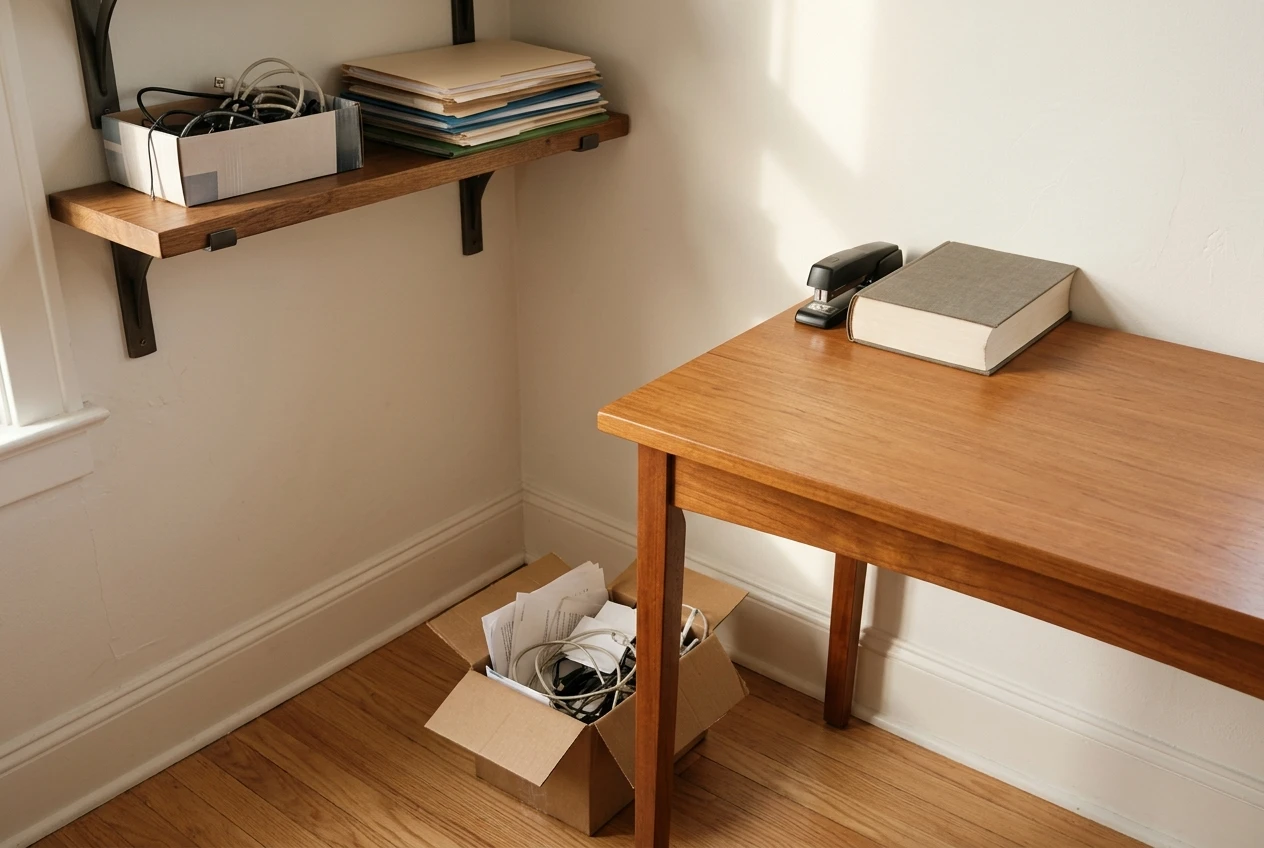
Anything beyond your second curve is in the outer zone. This is where objects go that you use a few times a day or less: a stapler, a spare notebook, a printer, a box of cables, a stack of reference files, decorative items.
Objects in the outer zone have three possible fates.
- Push back. If you use it daily but not often, such as a reference book, leave it on the desk at the far edge, where you will stand or lean deliberately to get it.
- Shelve. If you use it weekly, move it to a shelf or drawer within reach of where you stand, not where you sit.
- Remove. If you cannot remember the last time you touched it, take it off the desk entirely.
The benefit of a deliberate trip is that you stand up. Moving to fetch something is a short break from sitting, and the effort of getting up is a good filter: if you would rather skip the trip, you did not need the item that often.
Be honest about what you actually touch. People tend to keep objects near that make them feel organized, such as a pen pot with twenty pens, when they use one pen. Count the touches over a day if you are unsure.
Fixing the sideways problem: mouse side, phone side and the item you twist to reach
Distance is one half of the problem. Direction is the other. An object can be inside your reach zones and still cause strain if you need to turn your torso or raise your shoulder sideways to get it.
Mouse side. A mouse placed far to one side forces your shoulder outward and your forearm into a diagonal. If your keyboard has a number pad, the pad pushes the mouse several centimeters farther out than it needs to be. A keyboard without one lets the mouse sit closer to your body’s midline, and that is worth considering if you rarely type numbers.
Phone side. Choose the side opposite your mouse hand. When the phone rings, your free hand picks it up and your mouse hand stays where it is. If you take calls often, a headset removes the reach and the neck tilt that comes from pinching a handset between ear and shoulder. For calls, the best headsets for remote work is a place to start looking.

The item you twist to reach. Most desks have one. It might be a second monitor off to the side, a bag on the floor, a printer on a side table, or a notebook parked on the far left. You can find it by watching for the moment your chair rotates or your torso turns more than your head. Once you spot it, you have three options: bring it into the middle zone, move it to the front of the desk where you face it, or move it out of reach on purpose so you must stand up to use it.
A quick check for any object is to ask whether you reach it with your torso facing forward. If your shoulders stay level and your chest stays square to the desk, the placement is fine. If either shifts, move the object.
A ten-minute reset for when the desk fills up again
Desks drift. A mug appears, a pile of post lands in the close zone, the phone migrates toward the keyboard. Reset the desk when you notice your shoulders creeping up or when the mouse has been sliding outward again. A weekly reset keeps it from building up.
Set a timer for ten minutes and work through this sequence.
- Minutes 1 to 2: Sit in your normal position and lay your zone paper back on the desk, or look at where the curves were. Take everything off the desk that is not the keyboard, mouse and monitor.
- Minutes 3 to 6: Return items one by one, starting with the close zone. Ask for each object how many times you touched it today, and place it by that answer.
- Minutes 7 to 8: Deal with the outer zone. Shelve, push back or bin anything that does not earn a place.
- Minutes 9 to 10: Run the sideways check. Reach for the mouse, the phone and your most-used middle-zone item with your shoulders relaxed and your torso square. Adjust anything that makes you lift, lean or turn.
After a week or two, you will likely find the same few objects creeping back into the close zone. Those are the ones to give a permanent home, perhaps with a tray, a stand or a fixed spot marked on the desk.
Set the chair to match the desk
Once the desk is mapped, set the chair to match it. Chair height, armrest height and distance from the desk decide where your forearms land, so the zones you drew only hold if the chair stays the way you measured it. Read How to Adjust Your Ergonomic Office Chair, Setting by Setting and check each setting against the layout you have just made.